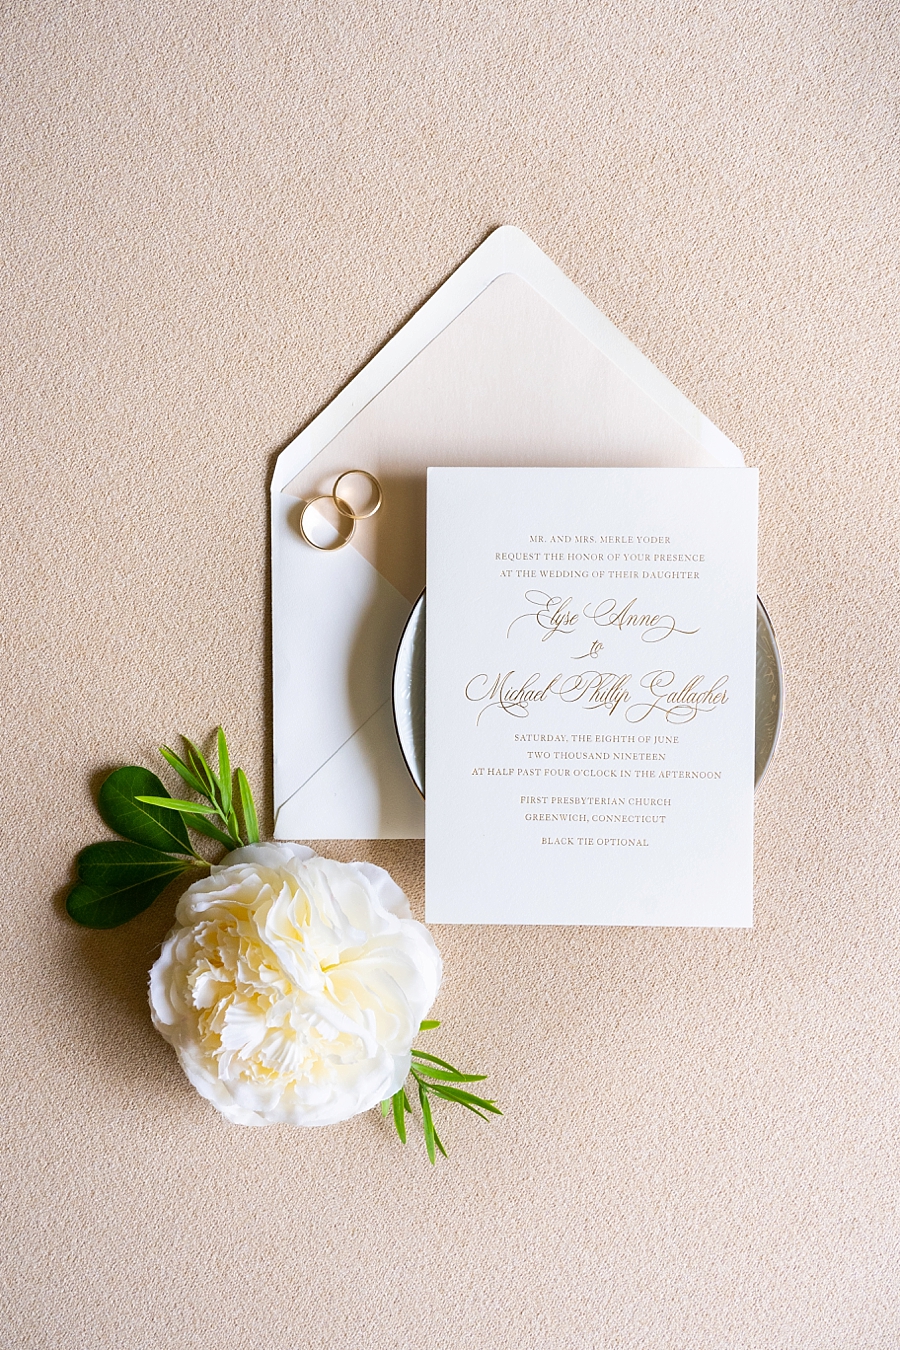
The Top Tips To Wording Your Wedding Invitation
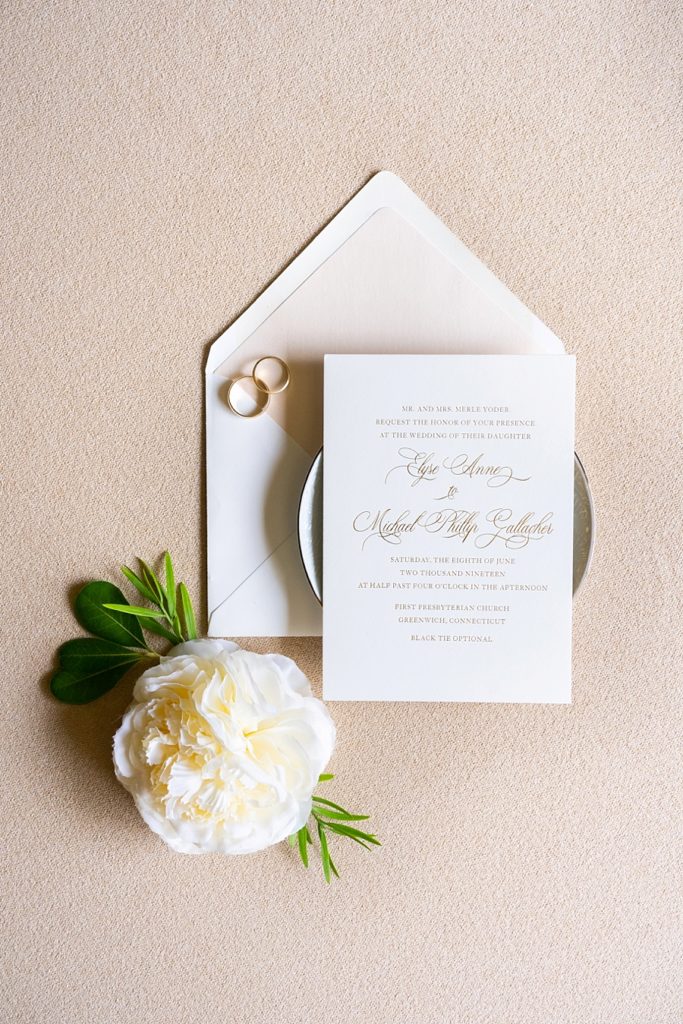
Photo by: Peterson Design Photo
The date and venue are set, now you just need to invite your guests to your wedding…but where do you start? Your wedding invitation is one of the first things guests will see for your big day, so it’s important it sets the tone! Therefore, we partnered with the talented Sandy of Roseville Designs to share some of our top tips to wording your wedding invitation below:
The Start
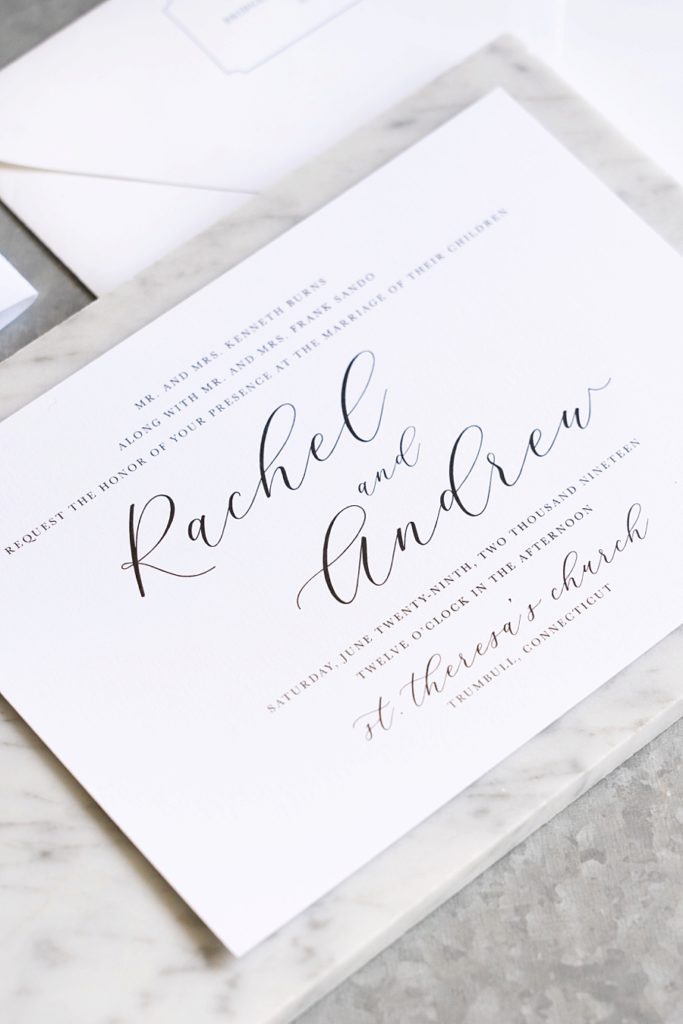
Photo by: Peterson Design Photo
Firstly, there are five basic pieces of information that every guest needs from your wedding invitation:
- An Introduction to the Event(s). For example: “You are formally invited to the wedding of [insert couple’s name]”
- Location of Event (Sandy’s tip: You don’t need to include the venue’s address unless it’s in a weird spot or there are two venue’s with similar names)
- Date of Event
- Time of Event
- How to RSVP
*Sandy’s Bonus tip: Be sure to include dress attire if it’s anything different than standard formal/cocktail, e.g. black tie optional, black tie.
For a breakdown of what each wedding dress code means, check out our blog post about it here!
Finding The Right Words
Additionally, there are three ways you can word your wedding invitation: Traditional, Formal and Informal.
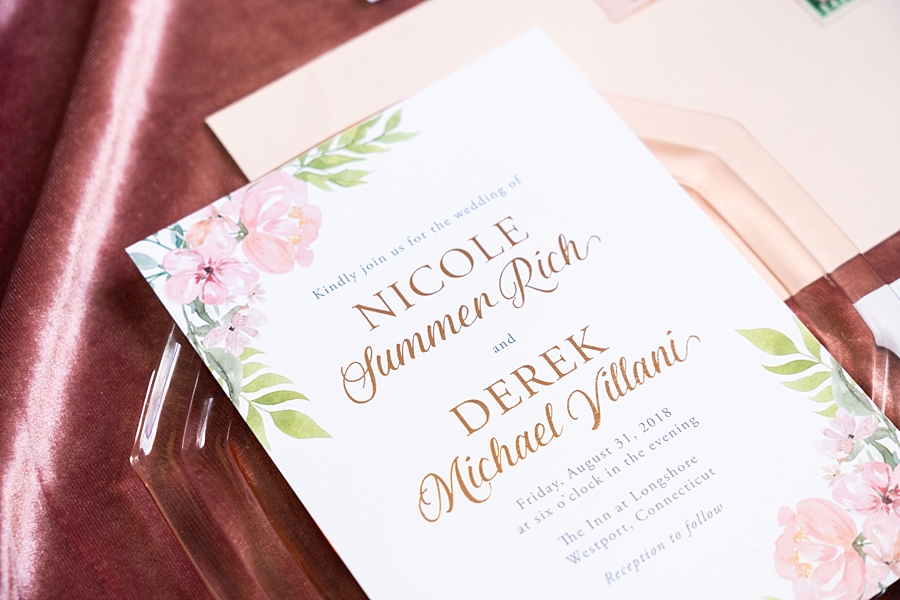
Photo by: Peterson Design Photo
Traditional Wording
Traditional wording for a wedding invitation generally means use of older “rules”. Traditionally, whoever is paying for the wedding is included on the wedding invitation. For example: “The family of Bride’s Full Name joyfully invite you to the wedding of their daughter to Groom’s Full Name.”
Formal Wording
Formal wording for your wedding invitation means the overall feel is elevated, but doesn’t necessarily play by the “rules”. This is a great option if the couple is financing the wedding themselves, or if there’s a complex family situation. For example: “Together with their families, you are joyfully invited to celebrate the wedding of couple’s full name…”
Informal Wording
Informal wording on your wedding invitation is where couples can really show their creativity. Anything goes here! You can put something as casual as, “Let’s Get Hitched Already!” The world is your oyster.
Date and Time
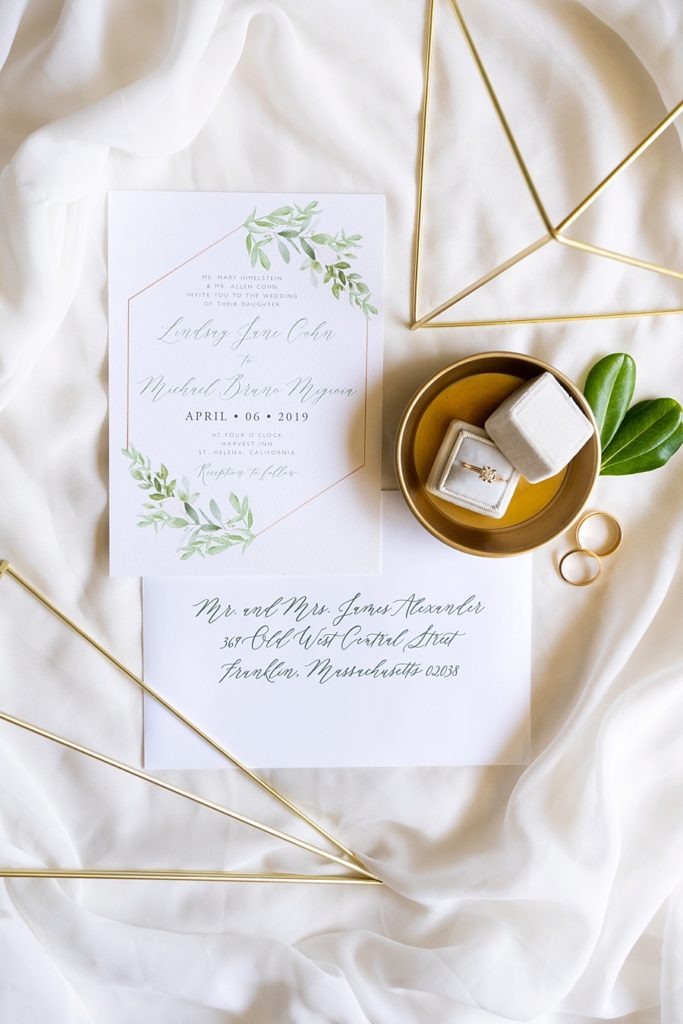
Photo by: Peterson Design Photo
You may have noticed on some wedding invitations some details are spelled out, and some are numerical. A good rule of thumb is: if you’re spelling out one detail, spell out the other. However, keep in mind this may be dependent on the design of your desired wedding invitation suite. Run a draft of your wedding invitation by a family member or someone in your wedding party to ensure the information is easy to read. You may love a certain font, but if it’s difficult to read, your guests may get confused about the important details.
How To Address The Envelope
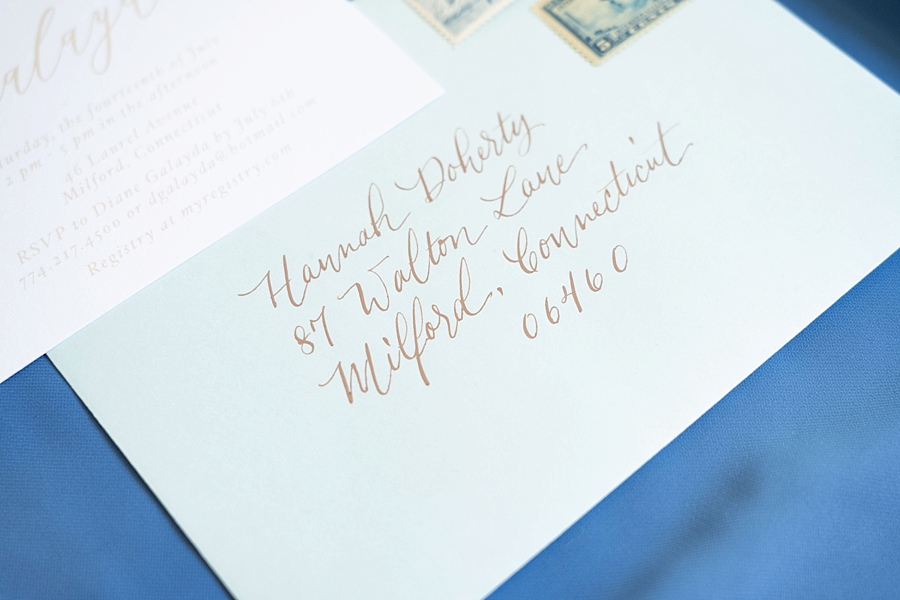
Photo by: Peterson Design Photo
Now that you’ve locked down the wording on the wedding invitation, next comes how to address the envelope. If guests are allowed a plus one, it’s best to put the invite name with an “and Guest”. Or if an entire family is invited, include every name on the envelope. This helps avoid confusion about who is actually invited (i.e. if kids are allowed). Another option is to put a general address of “The Smith Family”, to indicate everyone in a household. If you’re inviting a married couple, it was tradition to put “Mr. and Mrs. John Smith”. However, since not everyone takes someone’s last name or may not use a prefix, you can do a more modern version of listing each person on the invitation envelope.
Mailing Your Wedding Invitation
But before you send them out, be sure to check out Sandy from Roseville Designs‘ top 3 tips for wedding invitation mailing:
- Confirm Accurate Postage: Bring one full imitation suite to your post office so they can weigh it + determine exact postage. Don’t forget to purchase RSVP postage, too!
- Request Hand Cancellation: This prevents tears or scuffs on the envelope from the automated sorting machine, and can be requested at the post office. Sometimes they give you a hard time about it (postal workers aren’t always the happiest), so try to go at a time when it’s not busy (weekdays not during lunch!).
- Seal ‘Em Up: I recommend punching a glue stick to close the envelopes (a good ol’ Elmer’s glue stick should do the trick!). Double check them all to make sure they are sealed (and have postage!) before dropping in the mail.
Phew! And that’s it! I hope this helped you create the perfect wedding invitation. If you’re interested in working with Sandy to design your invitation suite, you can reach her on her website or instagram.
And if you’re ready to plan the final details of your dream wedding, contact me on my homepage here and let’s chat!

